
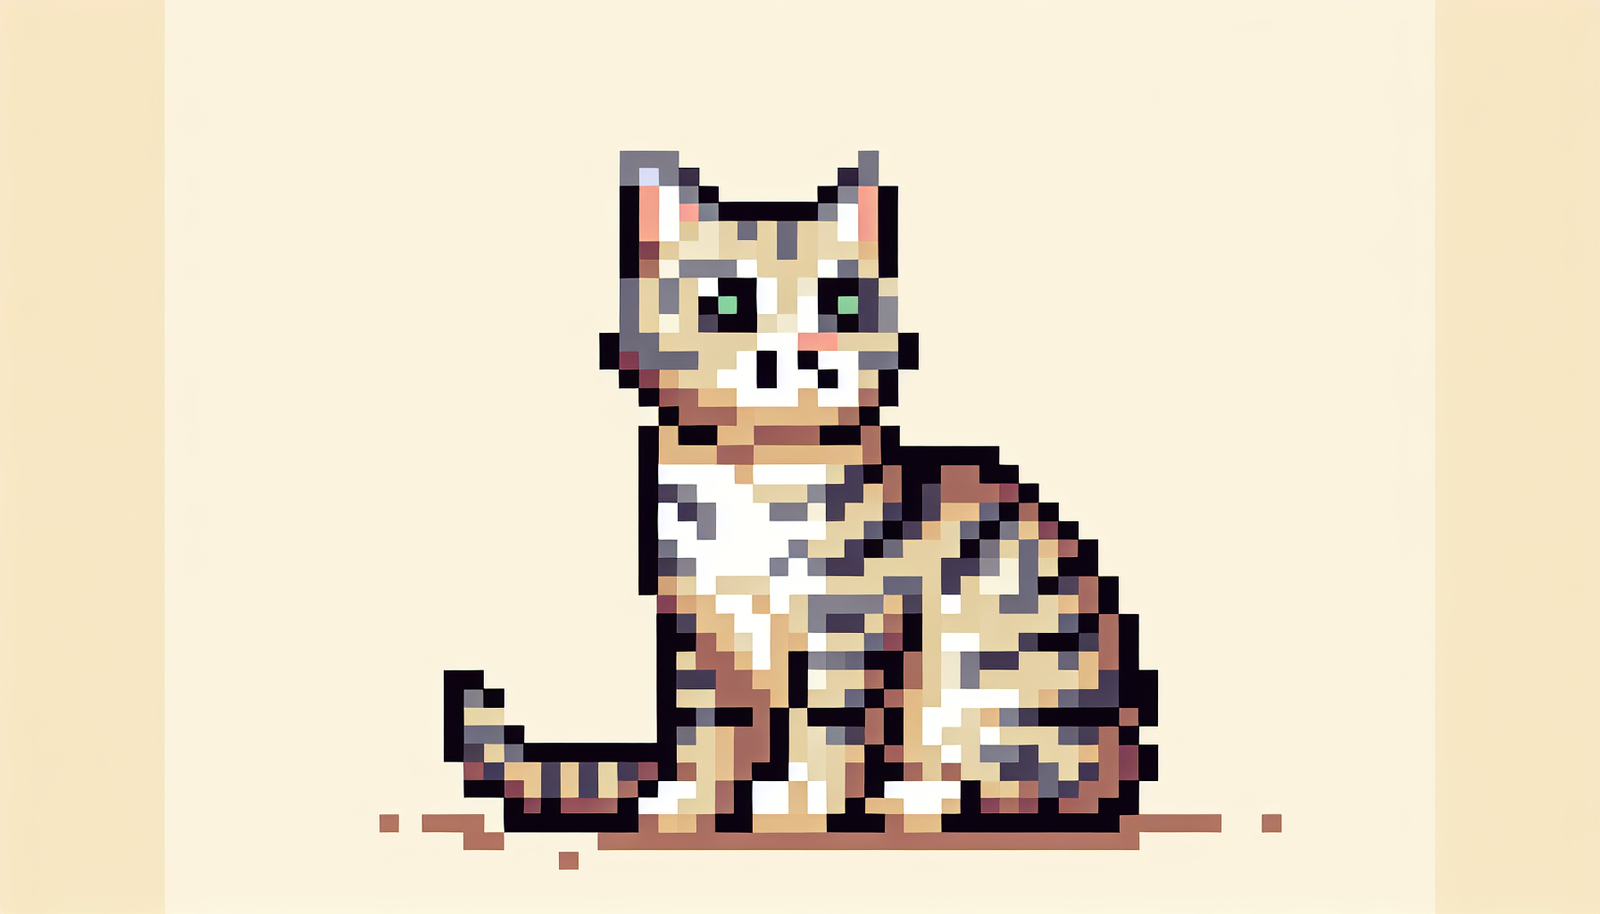
Imagine being able to bring your favorite Minecraft creatures to life on paper. In this article, you will discover a step-by-step guide on how to draw a Minecraft Tabby Cat. With clear instructions and helpful tips, you will be able to capture the iconic features of this adorable feline character. Whether you’re a beginner or an experienced artist, this easy-to-follow tutorial will have you creating your very own Minecraft Tabby Cat in no time. So grab your pencil, unleash your creativity, and let’s embark on this exciting artistic adventure!
Materials Needed
To draw a Minecraft tabby cat, you will need a few materials to get started. Here’s what you’ll need:
Graphite pencil
Using a graphite pencil will allow you to sketch the cat’s outline and make any necessary adjustments easily. It’s a good idea to have a few different pencil grades to create varying line thicknesses.
Eraser
Having an eraser handy will help you correct any mistakes or clean up your drawing as you go along. Make sure to use a soft eraser that won’t damage your paper.
Drawing paper
Choose a good-quality drawing paper that can handle the pencil and eraser. A smooth surface will make it easier to achieve the desired texture and details.
Colored pencils or markers (optional)
If you want to add some color to your Minecraft tabby cat drawing, you can use colored pencils or markers. This step is optional, so feel free to skip it if you prefer a black and white drawing.

Step-by-Step Guide
Now that you have all the necessary materials, let’s dive into the step-by-step guide on how to draw a Minecraft tabby cat!
Step 1: Draw the Head
Start by sketching a large oval shape for the head. This will be the foundation of your cat’s body. Make sure to leave enough space below the head for the body.
Step 2: Add the Ears
On top of the head, draw two triangle shapes that will represent the cat’s ears. Tabby cats generally have slightly curved ears, so you can add a gentle curve to the triangles for a cute touch.
Step 3: Draw the Face
Next, add two small circles within the head for the cat’s eyes. Within each eye, draw smaller circles to represent the pupils. Sketch a small triangle for the nose and a curved line for the mouth. These simple shapes will give your cat a cute and friendly face.
Step 4: Sketch the Body
Extend two curved lines downwards from the head to create the body. Connect the lines at the bottom with a curved line, leaving enough space for the legs and tail. This basic body shape will form the cat’s outline.
Step 5: Add the Legs
To give your Minecraft tabby cat some legs, draw four rectangles at the bottom of the body. Make sure these rectangles are proportionate to the body size to maintain a balanced appearance. The legs should be evenly spaced and positioned.
Step 6: Draw the Tail
Extend a long curved line from the back of the body to represent the cat’s tail. To add some detail, draw small rectangles at the end of the line to depict the segments of the tail. This will give your cat a more realistic and textured look.
Step 7: Detailing the Face
Now it’s time to add more details to the cat’s face. Use your eraser to remove any unnecessary lines, and darken the eyes and pupils for more definition. Draw a small curved line above each eye to create the eyebrows. Additionally, add two short lines at the inner corner of each eye to represent the lashes. These small details will bring your cat’s face to life.
Step 8: Add the Whiskers
Minecraft tabby cats are known for their prominent whiskers. Use your pencil to draw several short lines extending from each side of the cat’s nose. These lines should curve slightly outward to give your cat a playful and alert expression.
Step 9: Finalize the Body
Take a moment to review your tabby cat’s overall body shape and make any necessary adjustments. Refine the curves, straighten the lines, and ensure that the proportions are balanced. This step will help you achieve a polished and cohesive drawing.
Step 10: Coloring (optional)
If you want to add some color to your Minecraft tabby cat drawing, now is the time to grab your colored pencils or markers. Tabby cats are often known for their distinctive stripes, so choose colors that match your preferred tabby cat look. You can add stripes to the body and blend colors to create depth and dimension. If you prefer a simpler black and white drawing, feel free to skip this step.
And there you have it! By following these steps, you should be able to draw a Minecraft tabby cat with ease. Remember, practice makes perfect, so don’t be discouraged if your first attempt doesn’t turn out exactly as planned. With time and patience, your drawing skills will improve, and you’ll be creating adorable Minecraft tabby cats in no time. Happy drawing!
