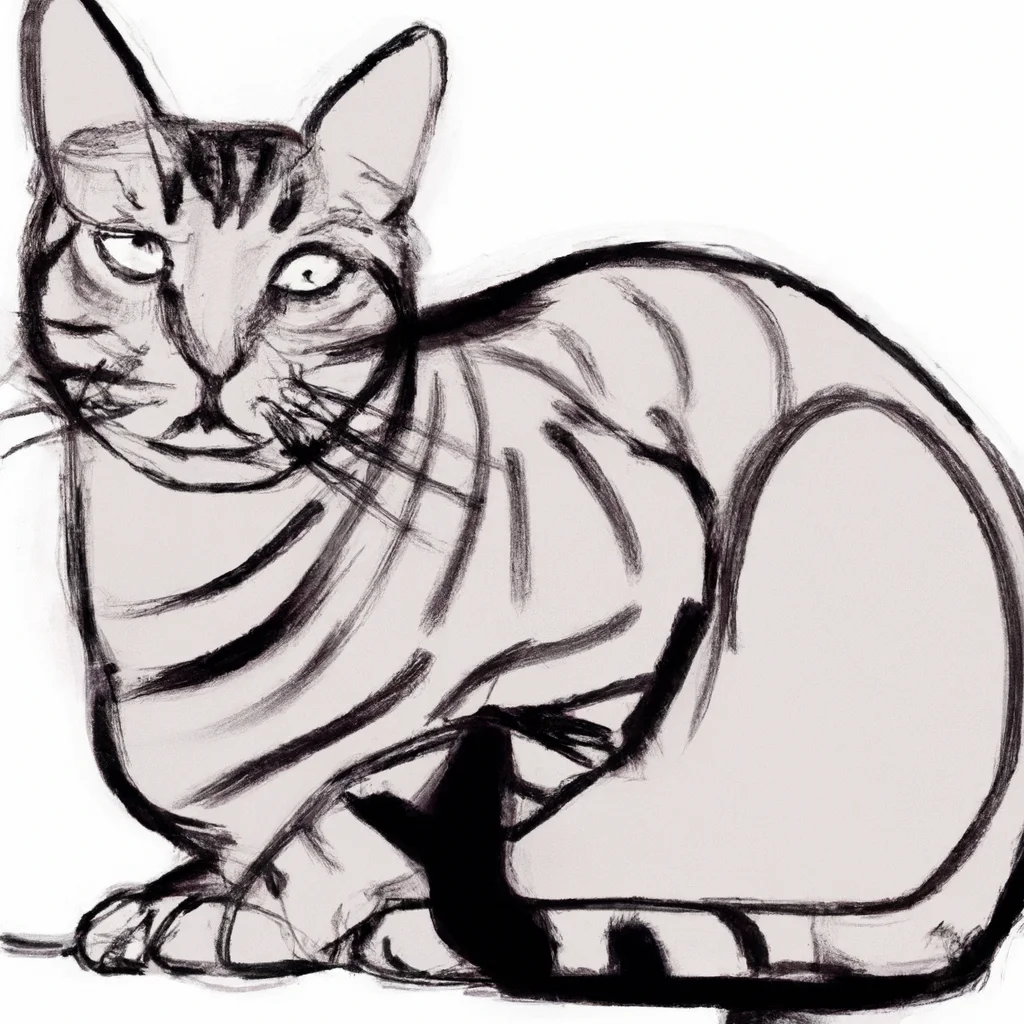
Are you eager to learn how to draw a tabby cat? Look no further! This step-by-step guide will walk you through the process of creating a realistic and adorable tabby cat drawing. From sketching the basic shapes to adding intricate details, this article will provide you with all the necessary guidelines and tips to bring your artwork to life. Get your pencils ready and let’s embark on this artistic adventure together!
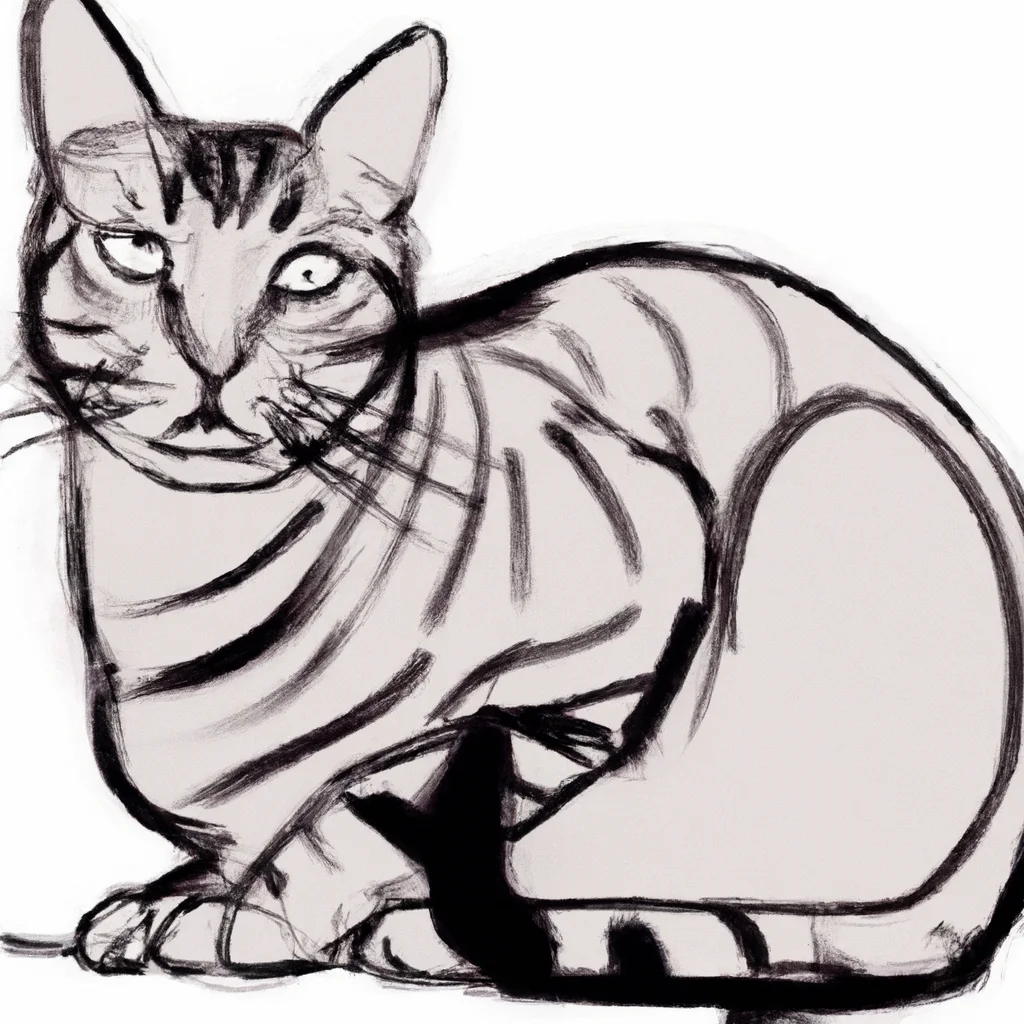
Materials
To start drawing a tabby cat, you will need a few basic materials. Make sure to gather a pencil, eraser, drawing paper, and a reference image of a tabby cat. Having these materials ready will make the drawing process much smoother and enjoyable.
Step 1: Observing the Tabby Cat
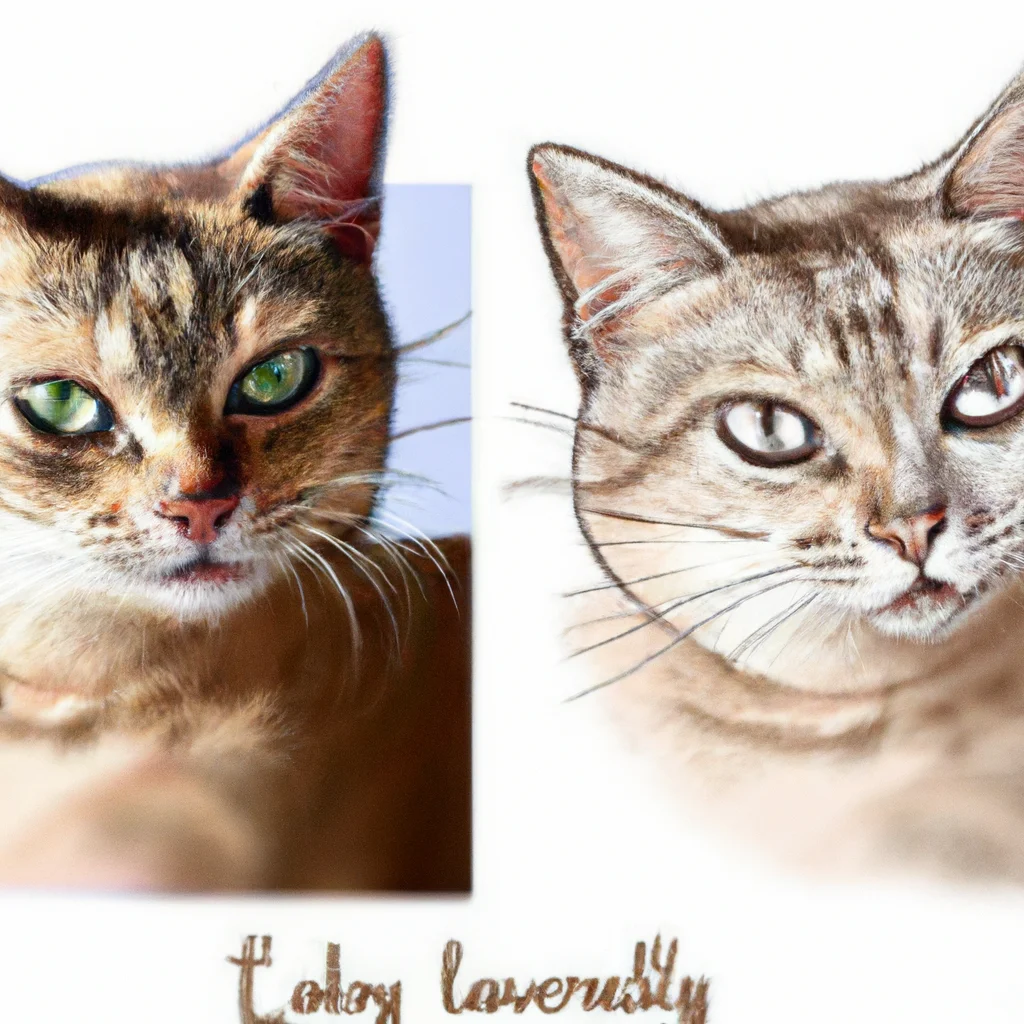
Before diving into the actual drawing, it’s important to spend some time observing and studying the tabby cat. Take a moment to familiarize yourself with the anatomy and features of a cat. Pay attention to the proportions, shape of the head and body, and the way the legs and tail are positioned. Additionally, analyze the fur patterns on a tabby cat and identify specific details that you want to focus on capturing in your drawing.
Step 2: Basic Sketch
Once you have a good understanding of the tabby cat’s anatomy, it’s time to start with a basic sketch. Begin by using basic shapes, such as circles and ovals, to outline the head and body of the cat. This will serve as the foundation for the rest of your drawing. Remember to keep the proportions in mind as you sketch the basic shapes. Next, add the legs and tail, making sure to position them in a way that reflects the natural stance of a tabby cat.
Step 3: Refining the Features
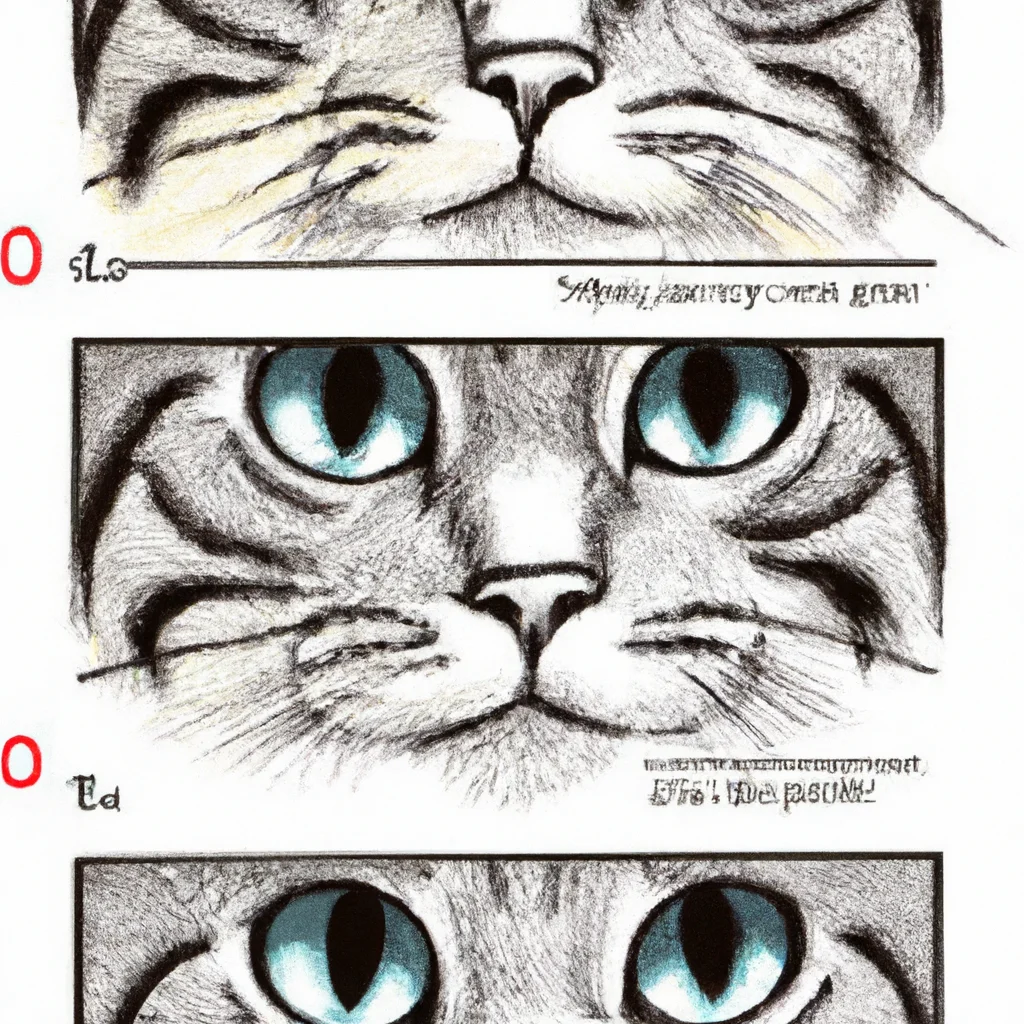
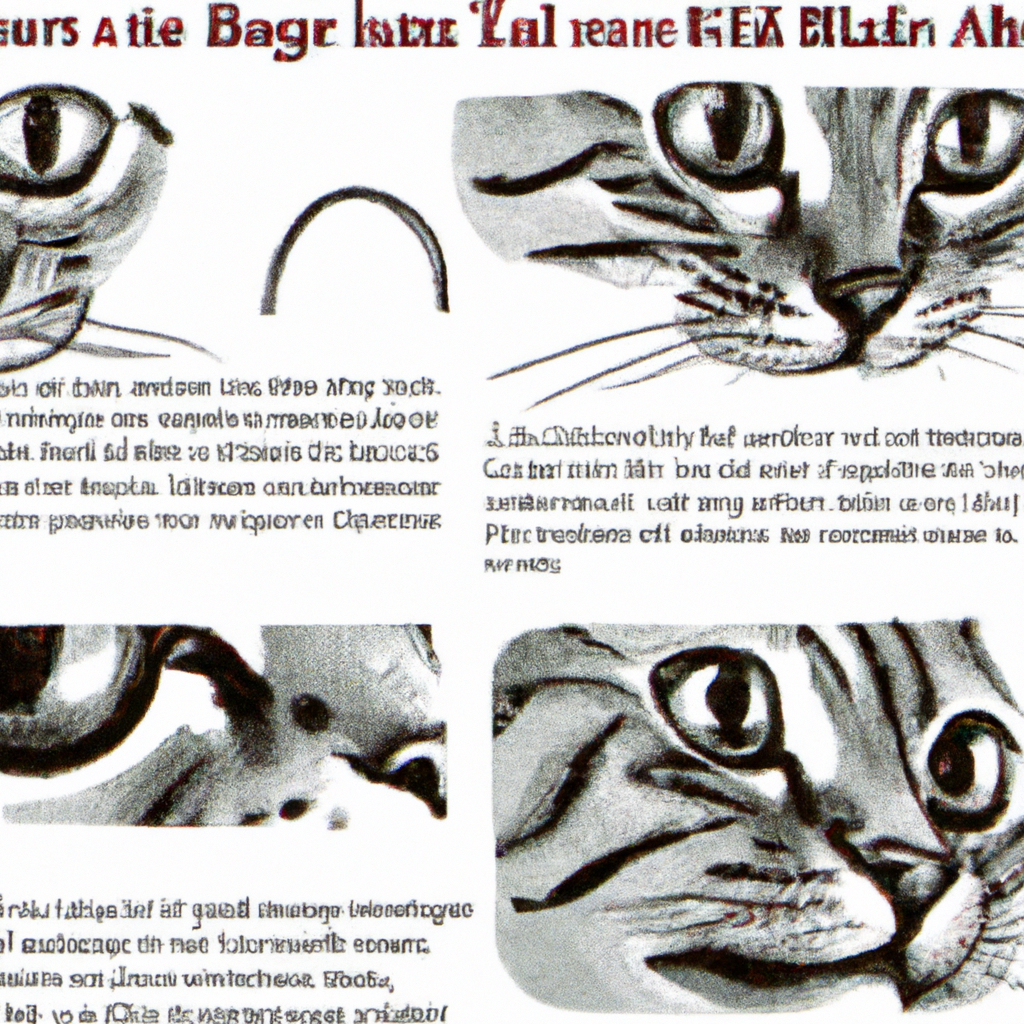
With the basic sketch in place, it’s time to refine the features of the tabby cat. Start by drawing the ears and adding in the facial details. Pay close attention to the shape and placement of the ears, as they are a distinctive feature of a cat. Then, add the eyes, nose, and mouth, capturing the unique expressions of a tabby cat. Finally, don’t forget to define the whiskers, as they add a touch of charm to your feline drawing.
Step 4: Drawing the Body
Now that the facial features are complete, it’s time to focus on drawing the body of the tabby cat. Begin by adding fur texture to the head, using short, curved strokes to create a realistic effect. Move on to sketching the chest and back, paying attention to the shape and contours. Finally, include the paws and claws, making sure they are proportionate and in the correct position.
Step 5: Fur Details
To give your drawing depth and realism, it’s important to pay close attention to the fur details of a tabby cat. Study the tabby markings of your reference image and try to replicate them on your drawing. Use short, curved strokes to create the fur texture, taking care to vary the length and direction of the strokes for a more realistic effect. Additionally, add depth and shadowing to the fur by adding darker shades in areas where the fur overlaps or casts shadows.
Step 6: Tail and Whiskers
The tail and whiskers are two important features of a tabby cat that can add character and personality to your drawing. Take time to carefully draw the tabby’s long, elegant tail, paying attention to its shape and any unique markings it may have. Once the tail is complete, add stripes to give it a more realistic appearance. Finally, include the whiskers on the face, making sure to draw them with delicate and precise strokes.
Step 7: Final Touches
As you near the completion of your tabby cat drawing, it’s time to add some final touches. Take a step back and review the fur texture, refining it if necessary to achieve the desired effect. Consider adding shading to create dimension and make certain areas of the drawing stand out. This will give your cat a more three-dimensional appearance. Lastly, erase any unnecessary guidelines or stray lines that may distract from the overall appearance of your drawing.
Step 8: Color or Ink
At this point, you have the option to add color or ink to your tabby cat drawing. If you choose to use color, consider using colored pencils or paints to bring your drawing to life. Take inspiration from your reference image in terms of the tabby cat’s fur colors and markings. Alternatively, if you prefer a different effect, you can use ink to create a more stylized drawing. Experiment with different techniques and find the one that suits your vision for the drawing.
Step 9: Finalize and Evaluate
Once you have added color or ink to your drawing, take a moment to review the final result. Evaluate your drawing and make any necessary adjustments or touch-ups. Check for any areas that may need more shading or detail, and ensure that the proportions and overall composition are visually appealing. Be sure to appreciate your finished tabby cat drawing and celebrate your achievement!
Drawing a tabby cat requires patience, observation, and attention to detail. By following these step-by-step instructions, you will be able to create a beautiful and realistic representation of a tabby cat. Remember to have fun and enjoy the process as you bring your drawing to life. Happy drawing!

